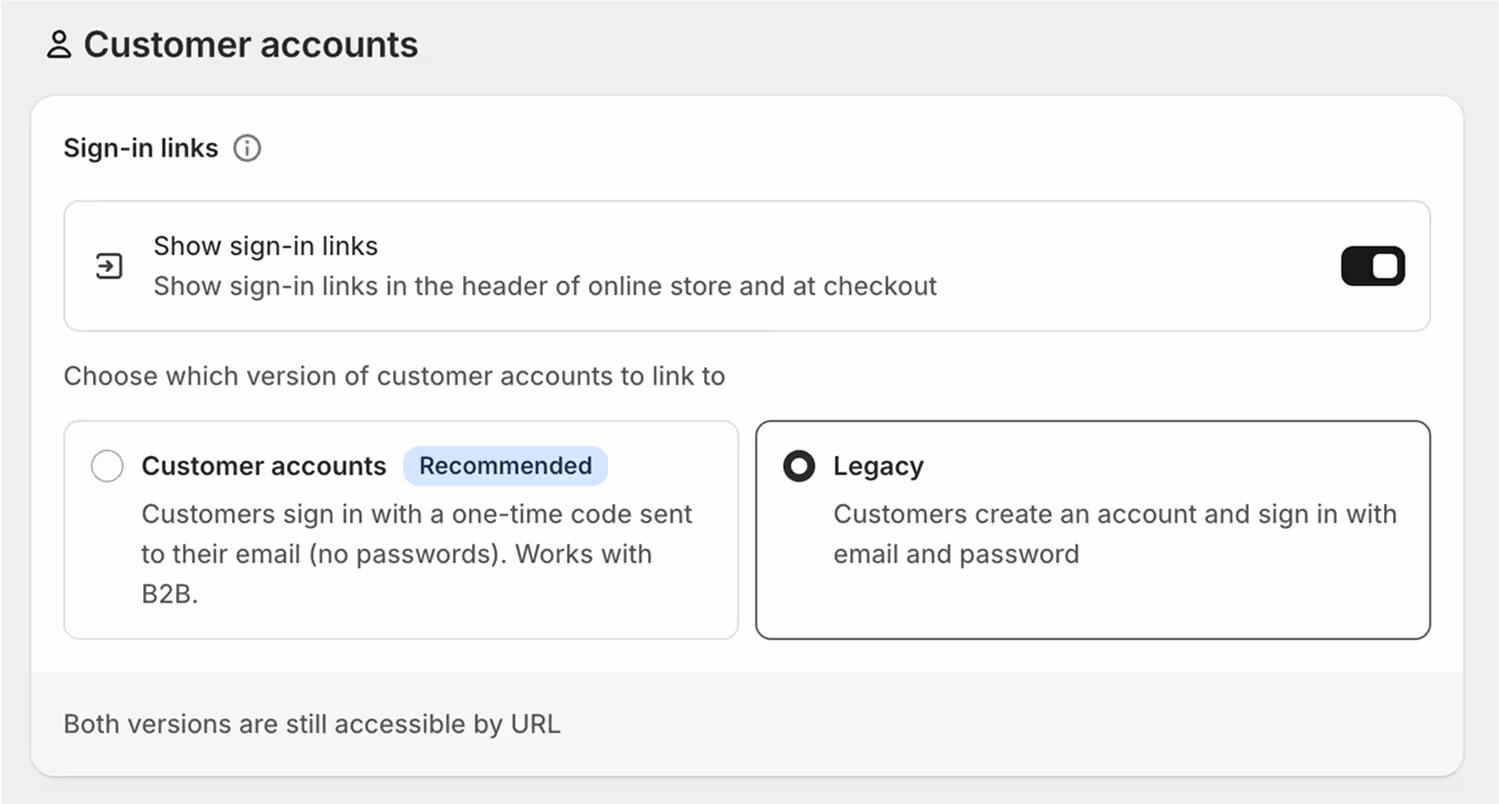
Customer Accounts Setup (Legacy)
Shopify Storefront data and cart logic is bound to your Webflow elements through Shopyflow attributes. Connecting your Webflow site to Shopify is done by adding custom attributes to your Webflow elements.
Yet, you are not required to type or edit attributes manually. Shopyflow provides you with the pre-configured components needed to create your store, as copyable Webflow elements right in Webflow designer.
All the copyable Shopyflow Components are native editable Webflow elements. There is no layout or styling limitation on any element.
In the below image hover your mouse on the hotspots to see all the required Shopyflow attributes to build a product page like this in Webflow

① Edit the URLs in the Shopify customer account password reset email template
When your users request a password reset email, the link sent in the email points to your Shopify theme by default. We have to change that link so your users land on your new password reset form in your Webflow site.
1. Head back to your Shopify Admin > Settings > Notifications > Customer and click Customer account password reset.
2. Copy the code snippet below, paste it in the email template as shown in the video below
3. Replace the indicated fields in the code with your own information
{% assign webflowUrl = "https://[YOUR WEBFLOW OR CUSTOM DOMAIN]" %}
{% assign passwordChangePage = "/[PAGE SLUG or PATH]" %}
{% # ↑↑↑↑↑↑ CHANGE ↑↑↑↑↑↑↑ # %}

{% # ↓↓↓↓↓↓ DONT CHANGE ↓↓↓↓↓↓ # %}
{% assign resetUrl = webflowUrl | append: passwordChangePage
| append: '?token=' | append: customer.reset_password_url %}
4. Next, find the customer.reset_password_url towards the bottom of the same email template. You can use cmd/ctrl + F to find it. Replace the variable (including the customer) with resetUrl variable as shown in the video below.
5. After you save the template, click Preview on the top corner and send a test email to make sure the password change URL is working correctly.
② Edit the URLs in the Shopify customer account invite email template
Next, we need to overwrite the account activation URL in the email template that Shopify uses. This email is sent when a user creates an account in your store with an email address which is attached to a past order. In other words it's sent when a customer who has completed a purchase before decides to create an account later on. The customer will receive an email with an activation link.
1. Head back to your Shopify Admin > Settings > Notifications > Customer and click Customer account invite.
2. Copy the code snippet below, paste it in the email template. Refer to the previous video if needed.
3. Replace the indicated fields in the code with your own information
{% assign webflowUrl = "https://[YOUR WEBFLOW OR CUSTOM DOMAIN]" %}
{% assign webflowAccountActivationPage = "/[PAGE SLUG or PATH]" %}
{% # ↑↑↑↑↑↑ CHANGE ↑↑↑↑↑↑↑ # %}

{% # ↓↓↓↓↓↓ DONT CHANGE ↓↓↓↓↓↓ # %}
{% assign activationUrl = webflowUrl | append: webflowAccountActivationPage
| append: '?token=' | append: customer.account_activation_url  %}
4. Next, find the customer.account_activation_url towards the bottom of the same email template. You can use cmd/ctrl + F to find it. Replace the variable (including the customer) with activationUrl. Refer to the previous video if needed.
5. After you save the template, click Preview on the top corner and send a test email to make sure the activation URL is working correctly.
③ Hide the Navbar and the Footer in your Shopify theme
Lastly, we will hide the navbar and the footer in your Shopify theme's account and subscription pages. This will ensure a seamless user experience for your customers in case they land there (e.g. on the subscription login page). Copy the code snippet below and paste it in the theme.liquid file in Shopify after the meta tags as shown in the video below. If you are using a customized theme, you might need to change your header selector or the rules to hide your navigation and footer. However the below rules should be enough for most themes.
{% if request.path contains 'account'
  or request.path contains 'recurring'
  or request.path contains 'subscriptions'
%}
  <style>
    [data-section-id="header"], sticky-header, footer {
      display: none!important;
      opacity: 0!important;
      pointer-events: none!important;
    }
  </style>

{% endif %}
How to find your theme.liquid file in Shopify
You’re all set. Now head to your Webflow project and follow the next step to finish up your customer pages setup.